


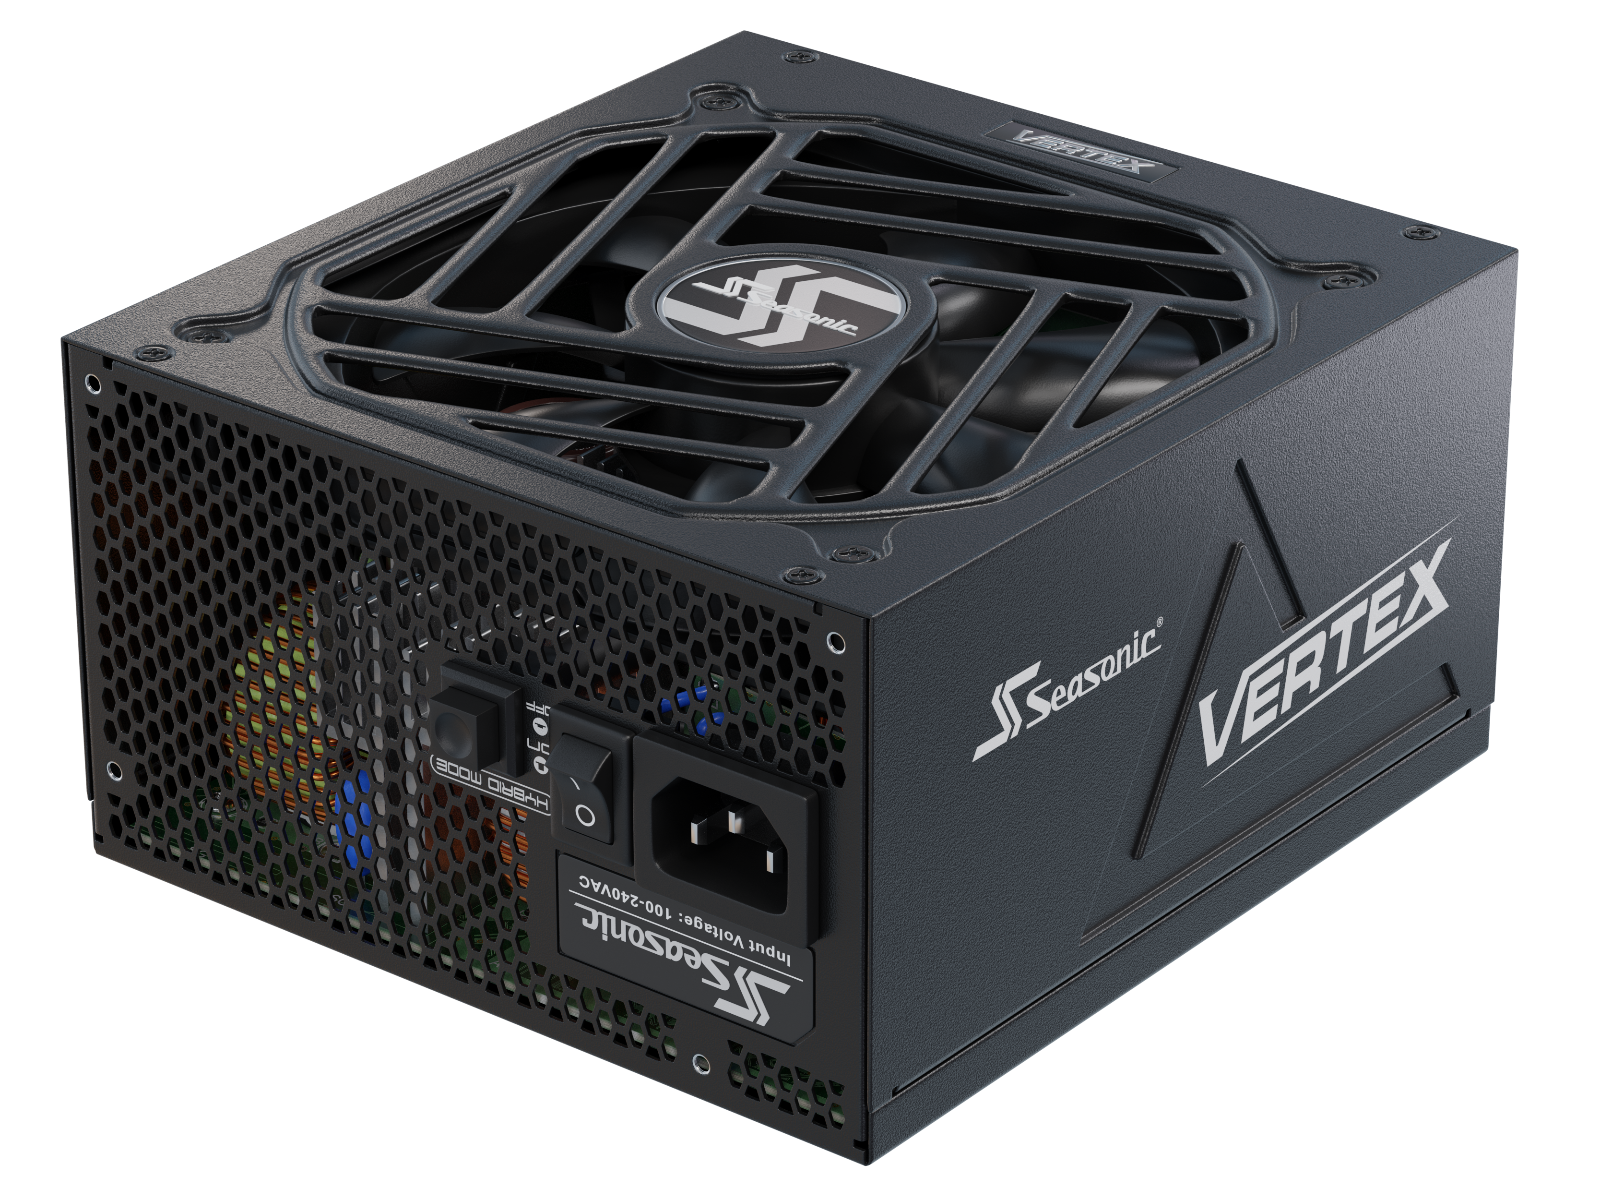






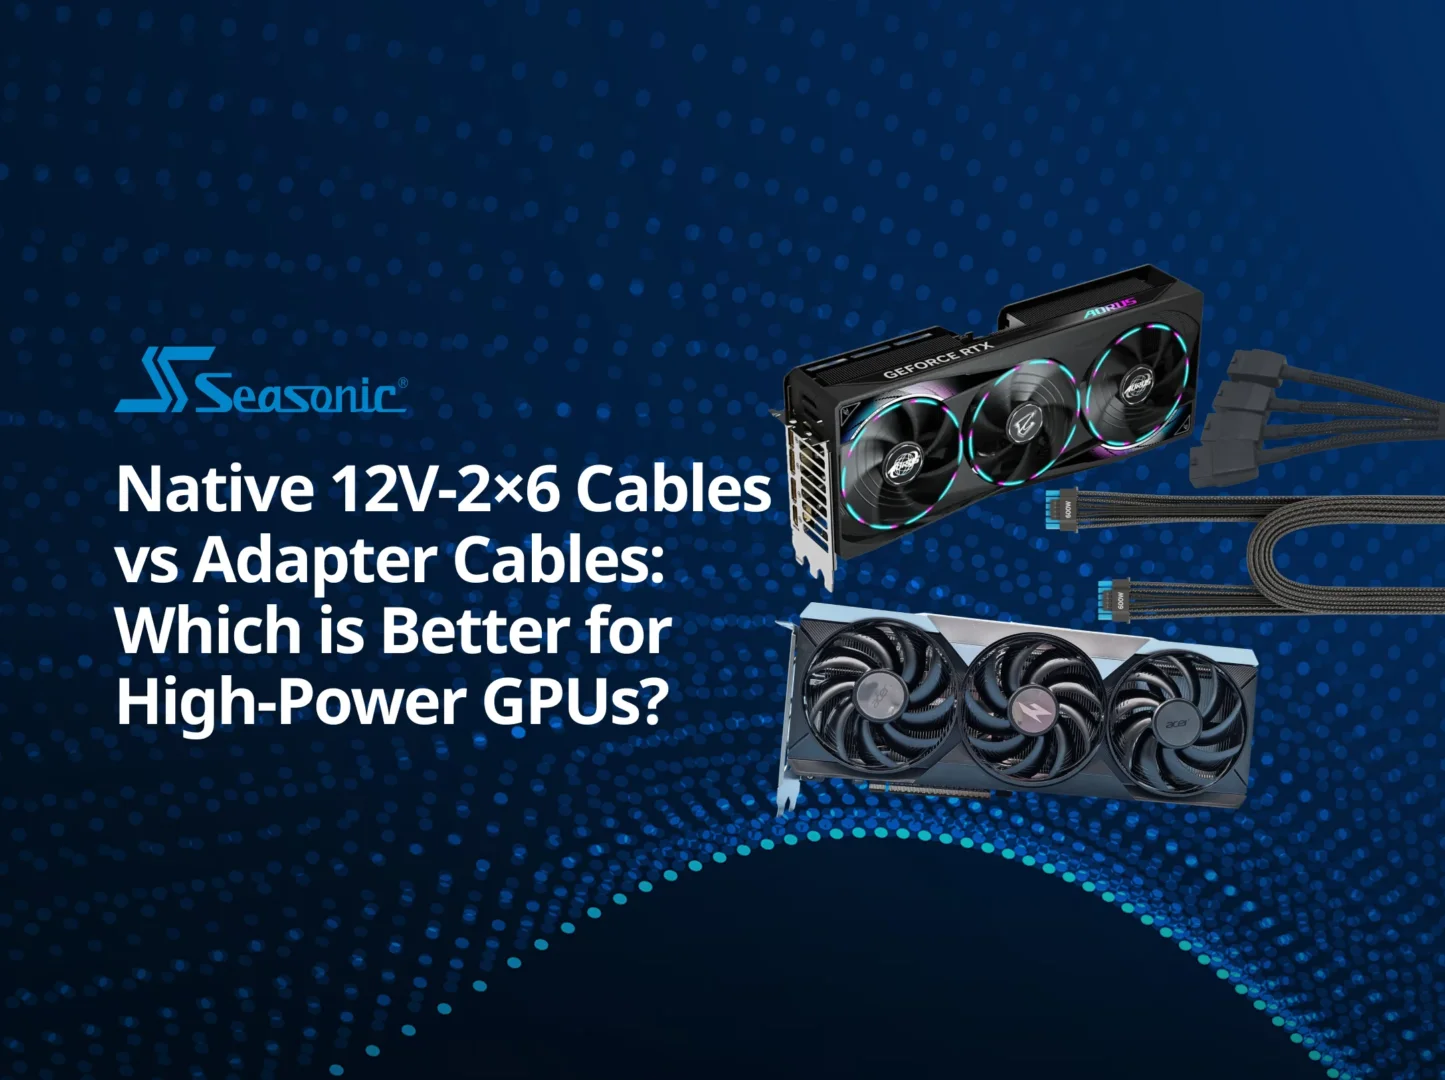

Native 12V-2×6 cables and adapters can both power modern GPUs, but the best option depends on your PSU, graphics card, case layout, and upgrade plans. When both the PSU and the graphics card support 12V-2×6 natively, a native cable is the simpler connection. When the PSU does not provide a direct connection, a manufacturer-approved adapter remains a valid option. Below, we compare both setups and explain what to check before choosing.
What are native 12V-2×6 cables, and where are they commonly used?
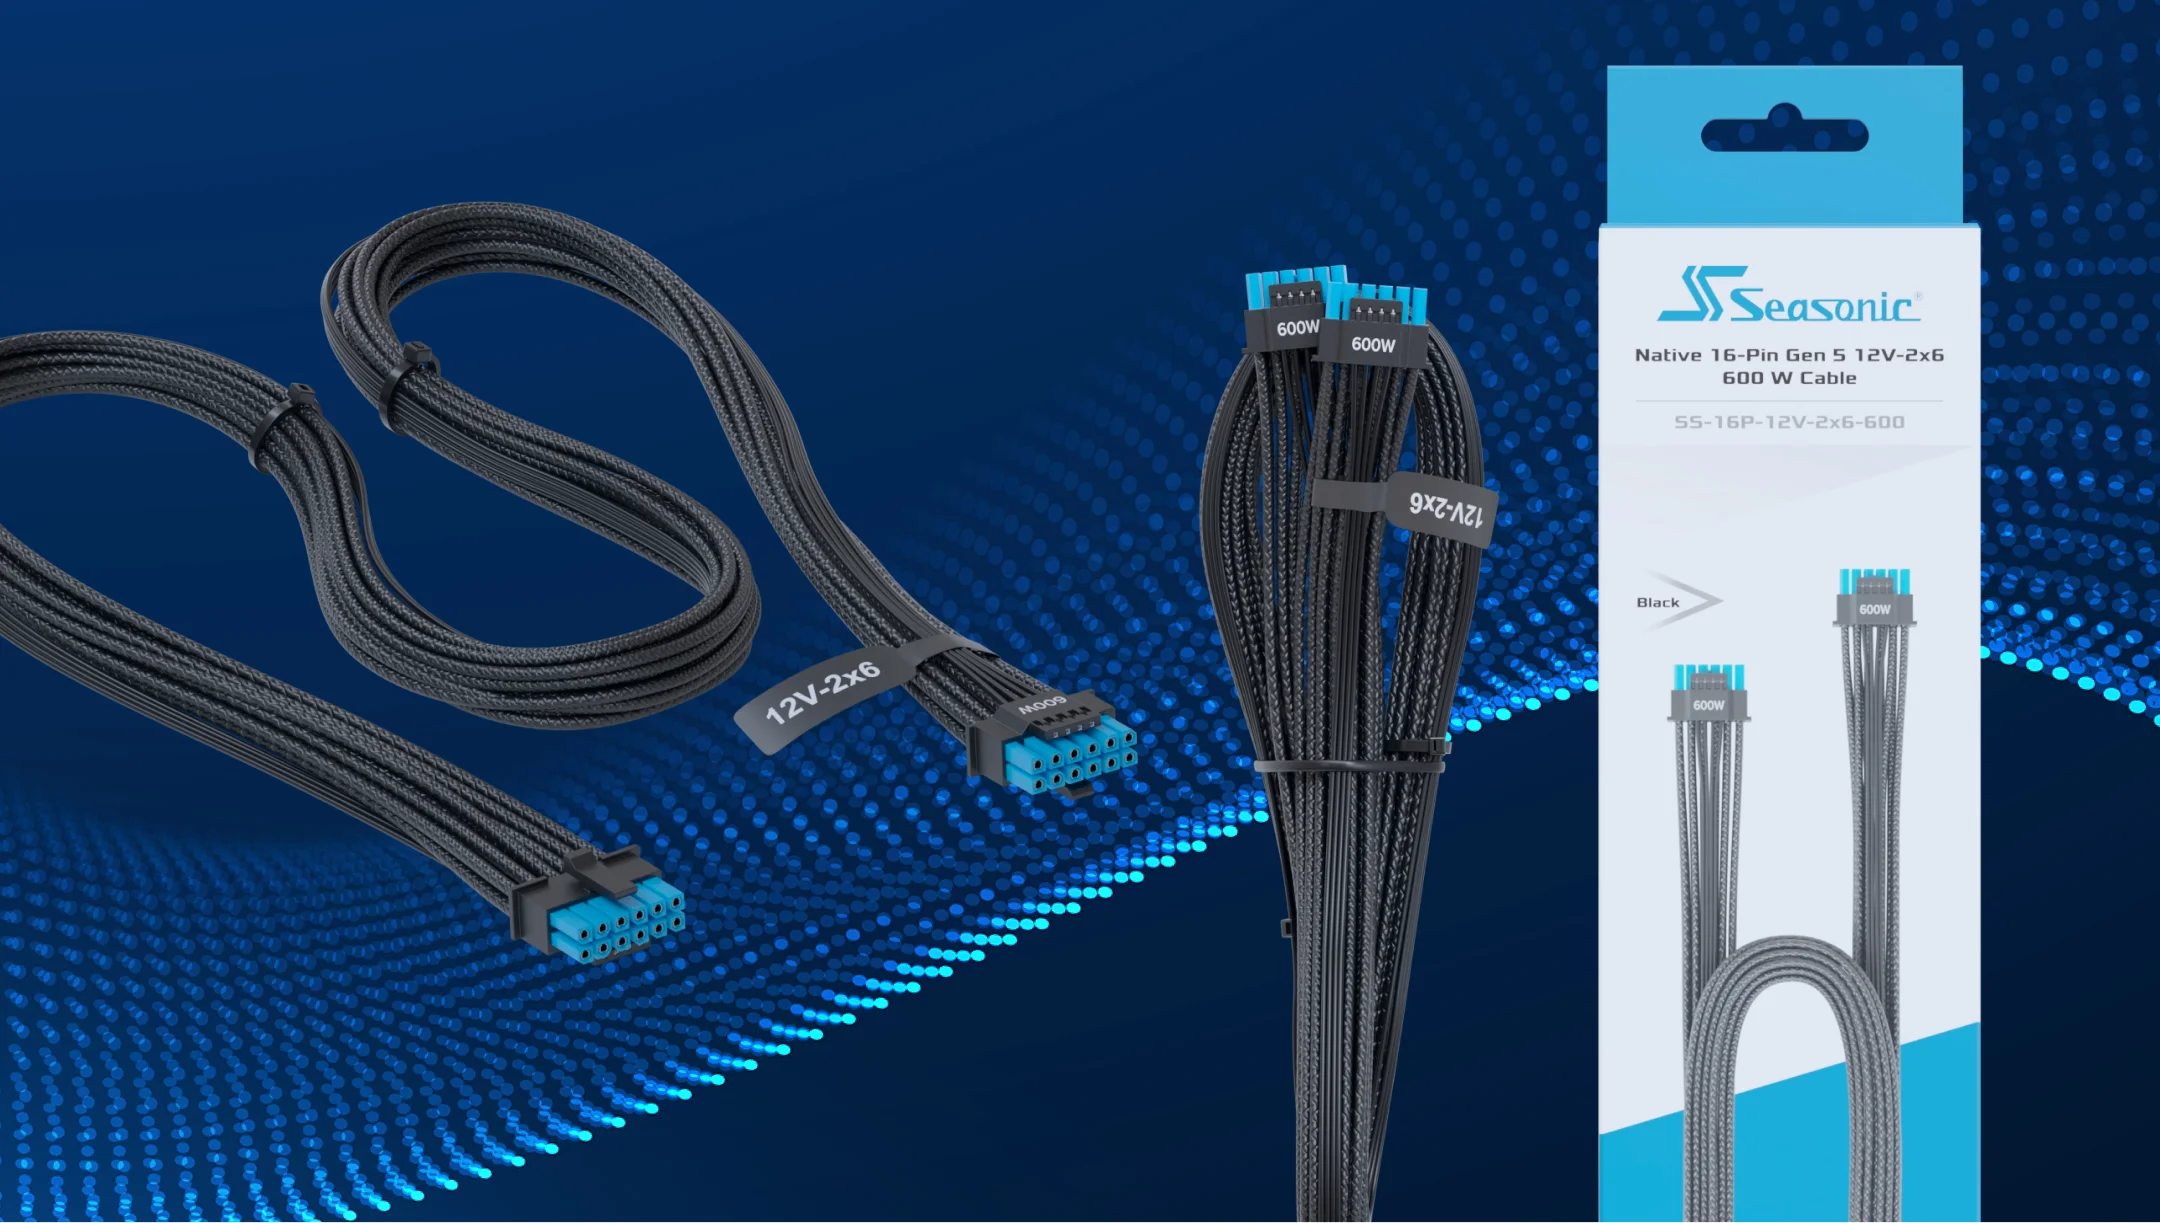
Native 12V-2×6 cables connect a compatible power supply to the graphics card without an adapter. The cable has the same type of 16-pin connector on both ends: one plug connects to the power supply, and the other to the GPU. This is important to know, since there are also straight cables with two modular 8-pin plugs on the power supply side, but they have a different design.
The 12V-2×6 cable contains twelve power pins and four signal pins. Six power pins supply the +12 V line, while the other six provide the return path for current. The four signal pins handle sideband signaling functions, such as telling the graphics card how much power it can draw.
The 12V-2×6 standard replaced 12VHPWR in the updated PCIe CEM 5.1 specification. The main mechanical changes touch on how the connector is mounted on the board: the connector uses longer power pins and shorter signal pins. As a result, the power connection is established before the signal connection and is disconnected after it.
The interface provides for sustained power levels of 150, 300, 450, and 600 watts, which are indicated by the states of the SENSE0 and SENSE1 signals. These are the power limits for a specific connection, not the GPU’s mandatory power consumption. The graphics card uses power according to its operating mode and the set limits; the “600 W” label does not mean it will constantly consume that much power.
The 12V-2×6 cables are commonly used in gaming PCs and workstations with compatible GPUs, specifically for rendering, video editing, and complex computational tasks. The connectors on specific components play a crucial role in the power delivery process.
Cable requirements are tied to the components, not the system category. A workstation may rely on 8-pin PCIe, while a gaming PC may use 12V-2×6.
A single direct cable powers the GPU without intermediate connections. When choosing one for your build, check compatibility with the power supply, the graphics card’s requirements, and the available space for cable routing. A modern connector simplifies the setup, but correct installation is key to reliable operation.
What are the alternatives to 12V-2×6 cables for GPUs?
The alternatives to the 12V-2×6 PC power supply cables define the GPU’s connectors and power supply capabilities. If the GPU comes with traditional PCIe 6-pin or 8-pin connectors, it can be connected to the PSU using the same appropriate cables. The two extra pins on the 6+2-pin connector let it work with graphics cards that use an 8-pin power input. According to Intel’s documentation, the auxiliary 6-pin connector supports up to 75 W, while the 8-pin connector supports up to 150 W. These are the specifications for the connectors on the graphics card side, so these values don’t apply universally to modular PSU connectors.
Standard 8-pin connectors are still fine to use. For example, AMD’s reference specification for the Radeon RX 9070 XT uses two 8-pin PCIe power connectors, although partner-designed cards can use a different connector configuration. Check the specifications of the exact graphics card model before buying. For this setup, switching to a 16-pin connector on the GPU side is not necessary.
If the GPU has a 16-pin connector and the PSU is equipped with standard PCIe cables, you can use the graphics card’s included adapter. It combines several 8-pin connectors into a single plug for the GPU. Before connecting, check the graphics card manual for the required number of cables and the correct connection order.
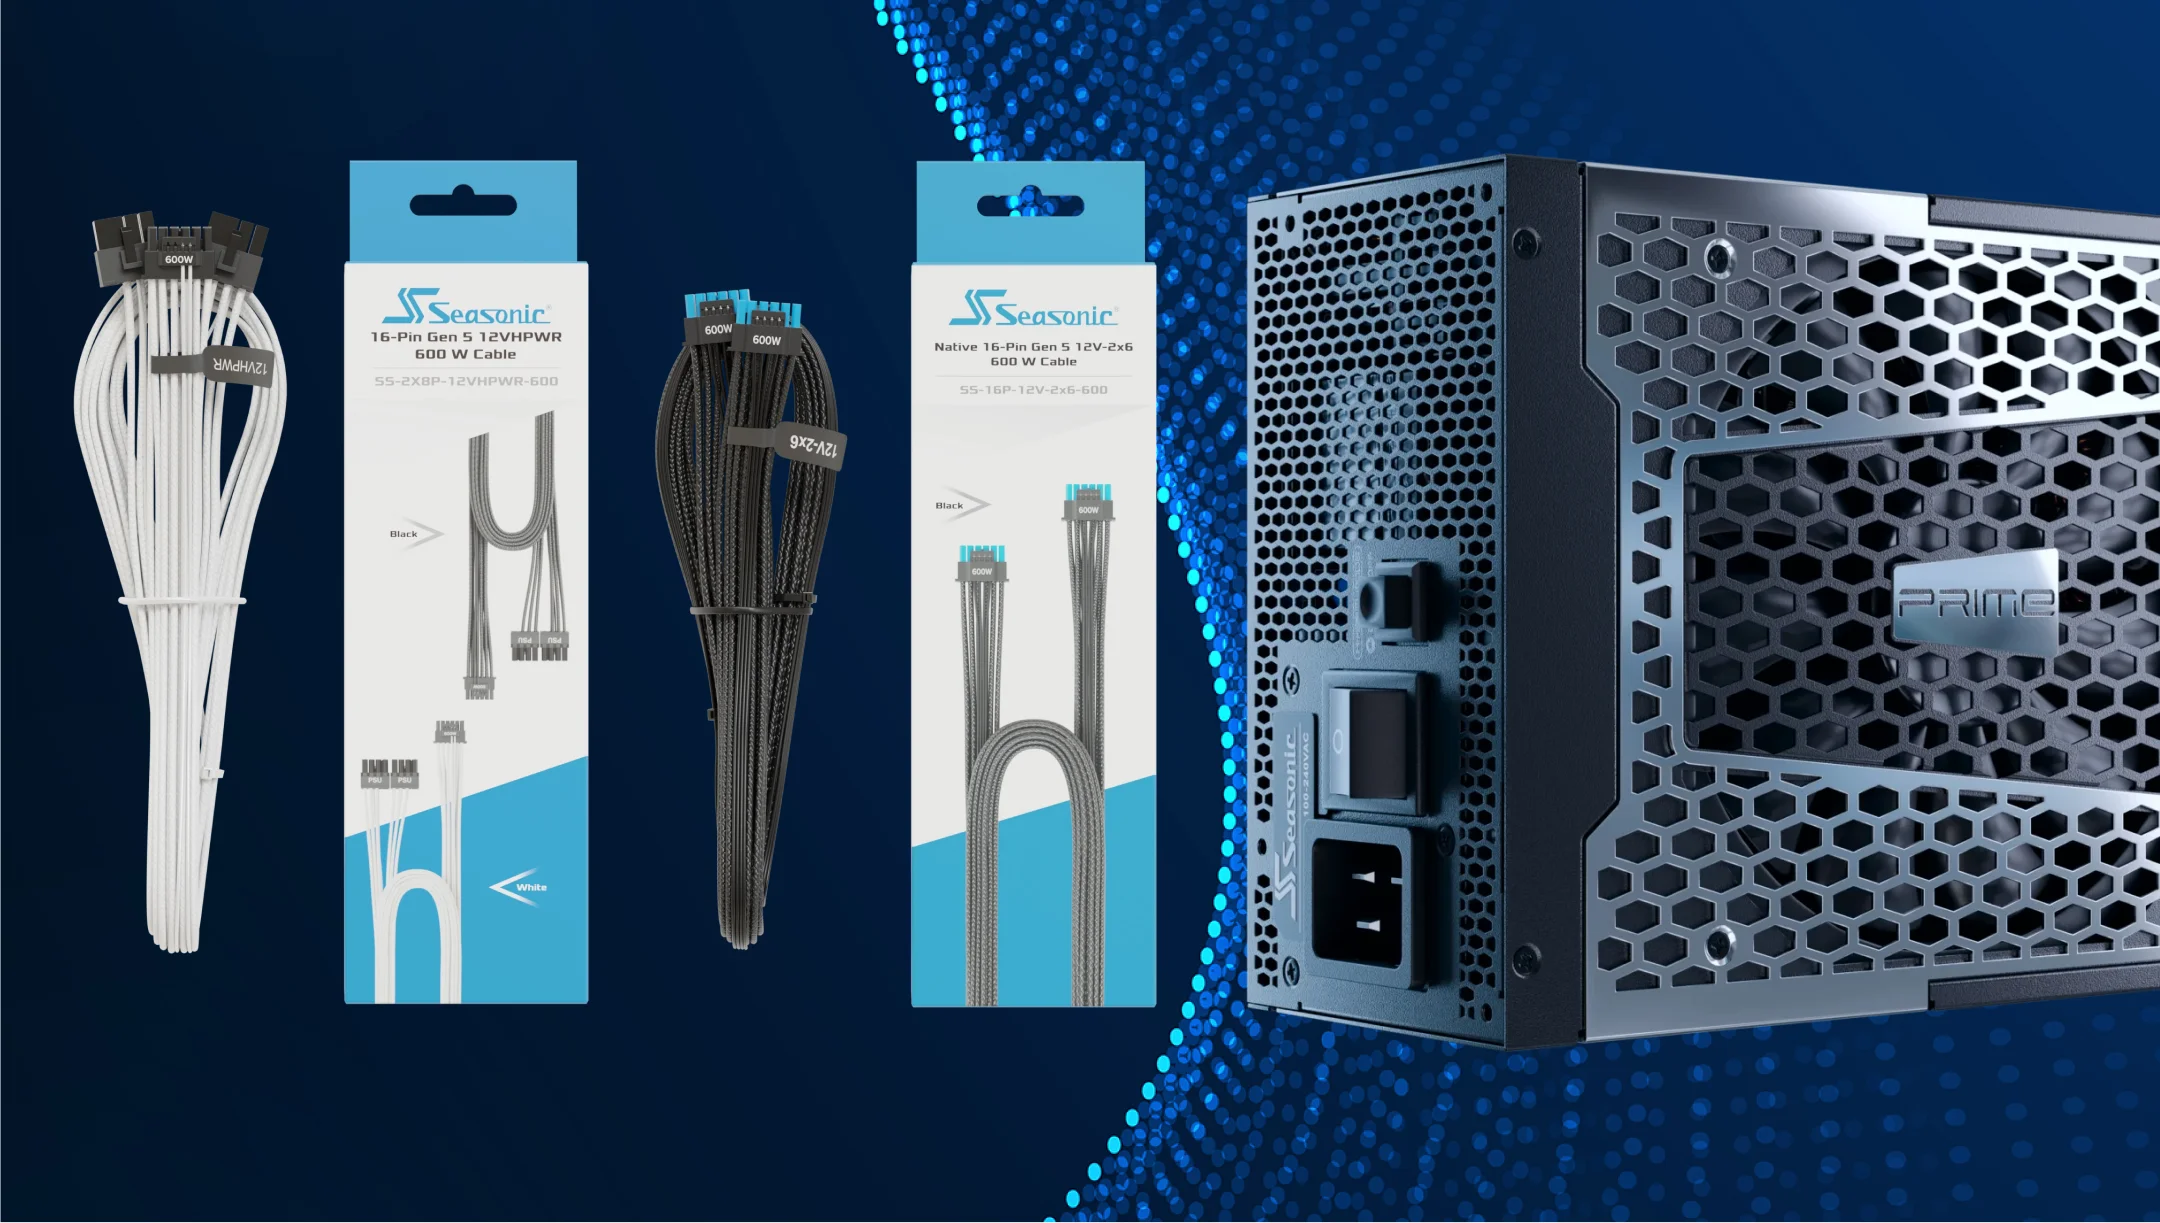
Another option is the Seasonic 2×8-pin to 12V-2×6 cable. Its two connectors plug directly into a compatible PSU, so there’s no need for an additional adapter with standard PCIe cables. This accessory allows you to connect a modern graphics card to a supported previous-generation PSU. The PSU must be a compatible Seasonic model rated 650 W or higher and have two available 8-pin CPU/PCIe modular connectors.
A functional 12VHPWR cable may still be suitable even if the GPU uses updated connector labeling. Seasonic confirms compatibility between the 12VHPWR and 12V-2×6 cable assemblies. However, the cable must be compatible with the specific power supply unit and the graphics card’s power requirements. Compatibility between the two generations of the interface does not imply that modular cables from different manufacturers are interchangeable.
Adapter cables for powerful video cards: Pros and cons
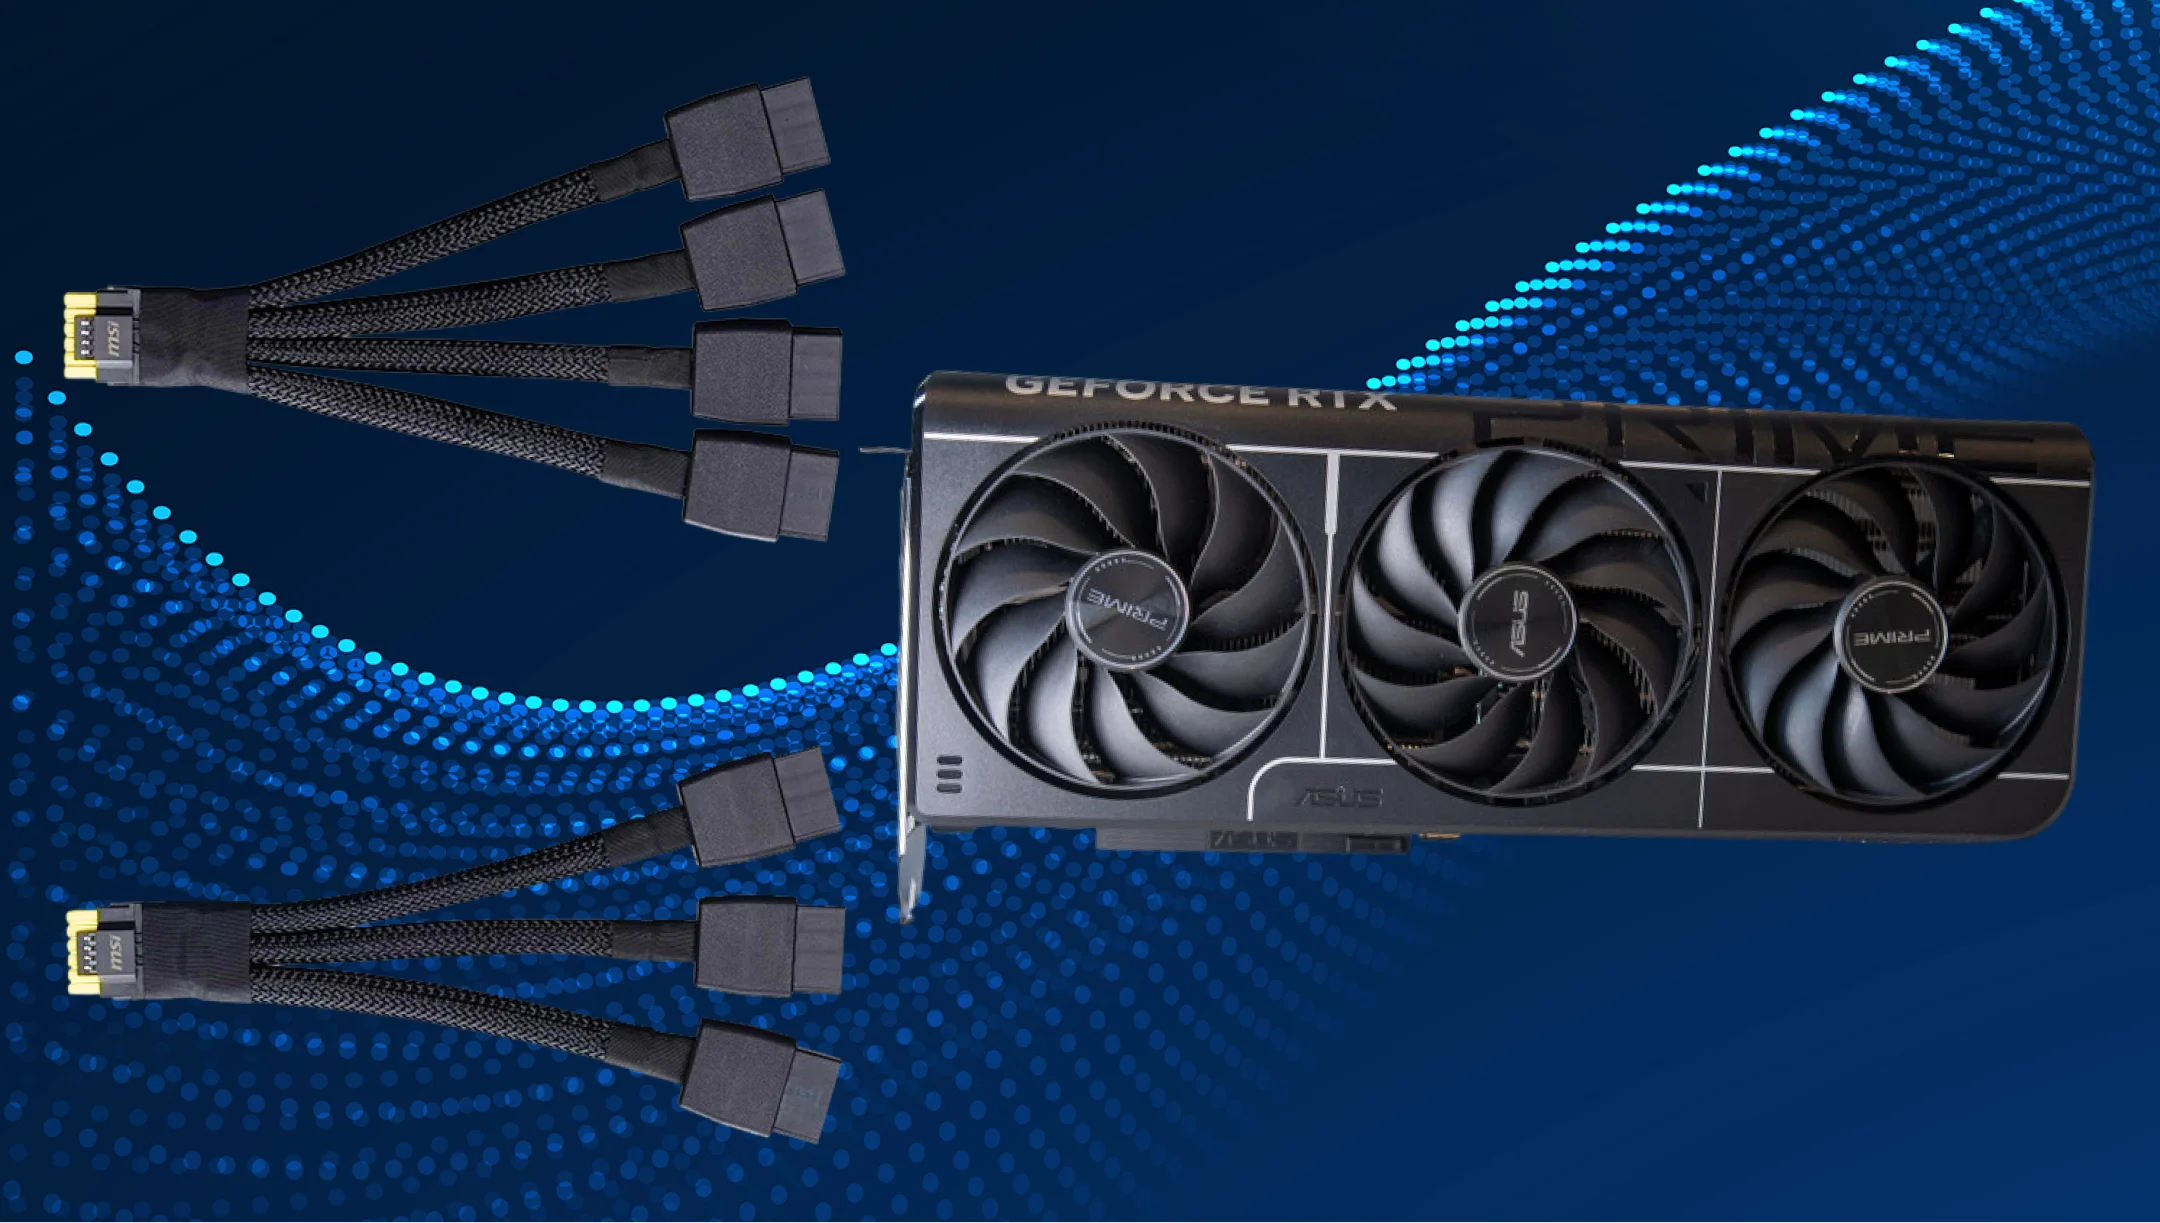
The main advantage of the included adapter is the ability to install high-end GPUs without replacing a power supply that still works well. Graphics card manufacturers include these adapters for exactly this scenario. If the existing power supply meets the system’s requirements, the included adapter allows you to use its standard PCIe cables. This is especially convenient when the GPU is upgraded while the rest of the system stays the same.
The adapter also eliminates the need to search for a separate modular cable for a specific PSU model. The PC power supply cables remain in place, and the adapter connects to their standard PCIe connectors. For users, this is a straightforward setup as long as they use the GPU manufacturer’s adapter and follow the instructions.
The main trade-off is additional connections and more cables to route. You need to position the adapter itself, route several cables to it, and leave space near the graphics card. Each connection point must be checked. A practical consequence of this design is that cable routing is more difficult in a cramped case, especially if the side panel is located close to the GPU connector. Before installation, it’s a good idea to lay out the cables and check whether there is enough space for them.
An adapter can also serve a signaling function. For example, NVIDIA explains that RTX 40 adapters have a circuit that identifies the connected 8-pin inputs and informs the graphics card of the available power. However, this circuit does not increase the power output of the PSU itself, nor does it alter its electrical characteristics.
Adapters should be evaluated based on their intended purpose and conditions of use. A manufacturer-approved adapter is an acceptable solution for a compatible configuration. If the build supports direct connection, it allows for fewer cable connections. This is a design advantage, but on its own, it is not a guaranteed measure of lower temperatures or the absence of malfunctions.
Comparative characteristics of native 12V-2×6 cables and adapters
In the table below, we’ve compared three main options for powering a graphics card: the native Seasonic 12V-2×6 cable, a direct Seasonic 2×8-pin to 12V-2×6 cable, and the included GPU adapter. The table explains how each solution connects to the power supply, whether any intermediate connectors are required, the maximum power rating, key compatibility requirements, and installation considerations. This helps you choose the option that best fits your PSU and case layout.
| Characteristic | Seasonic Native 12V-2×6 Cable | Seasonic 2×8-pin to 12V-2×6 Direct Cable | Adapter Included with the GPU |
|---|---|---|---|
| PSU connection | One compatible 16-pin PSU socket | Two compatible modular 8-pin PSU sockets | Connects to the PSU’s standard PCIe power cables |
| Intermediate connections | None | None | Additional connections between the PCIe cables and the adapter |
| Rated power | Up to 600 W for this cable | Up to 600 W for this cable, on a compatible Seasonic PSU | Depends on the specific adapter and the GPU manufacturer’s instructions |
| Main compatibility requirement | PSU compatibility with the native cable | Compatible Seasonic PSU model (650 W or higher) with two free 8-pin CPU/PCIe modular connectors. Check the Cable Compatibility Guide | A connection setup approved by the GPU manufacturer |
| Practical consideration | A single cable assembly connects the PSU directly to the GPU | Direct GPU connection using two modular PSU sockets | Requires space for the adapter and multiple PCIe cables |
Installation conditions remain equally important for all options. The plug near the GPU must be fully inserted, secured, and free of tension. Even the shortest connection setup cannot compensate for a misaligned connector or pressure from the side panel. Therefore, choose the option that matches manufacturer guidance and fits comfortably inside your case.
How to install a cable or adapter to ensure proper seating and avoid excessive bending or side-panel pressure?
Start by turning the PC off and unplugging the power cord. Check the plug housing and insulation for visible damage. Before installation, assess the distance between the graphics card connector and the side panel, the cable routing, and access to the computer power supply’s modular ports. The cable should reach the components without being taut (its length should match the actual cable route inside the case).
Then, set the desired cable configuration before connecting. Avoid kinks and mechanical stress directly near the plug, as well as bending the cable after installation. If you need to change the cable route, first disconnect the cable from the GPU and the power supply. This prevents cable routing from putting extra stress on the secured contacts.
Align the plug with the socket and insert it straight until it is fully seated and the latch clicks into place. After hearing a click, visually inspect the connection: the plug should fit snugly against the connector housing with no noticeable gap or misalignment.
Also check the other end of the connection:
– for a native cable, this is the connector on the PSU;
– for a modular 2×8-pin cable, it’s both of its connectors;
– for an adapter, it’s all the PCIe slots specified in the instructions.
Cables and fasteners should not pull the connection to the side. Do all checks before powering on the system.
Finally, carefully try fitting the side panel. It should close without pinching the cable or displacing the connector. If there isn’t enough space, reroute the cables or choose a compatible cable with a factory-installed angled connector. The best option is a 90°, but there may be orientation limitations on certain RTX 40 and RTX 50 models. Do not use the case panel to force a bend or hold the cable in the desired position.
Characteristics of native 12V2×6 сables in Seasonic PC power supplies
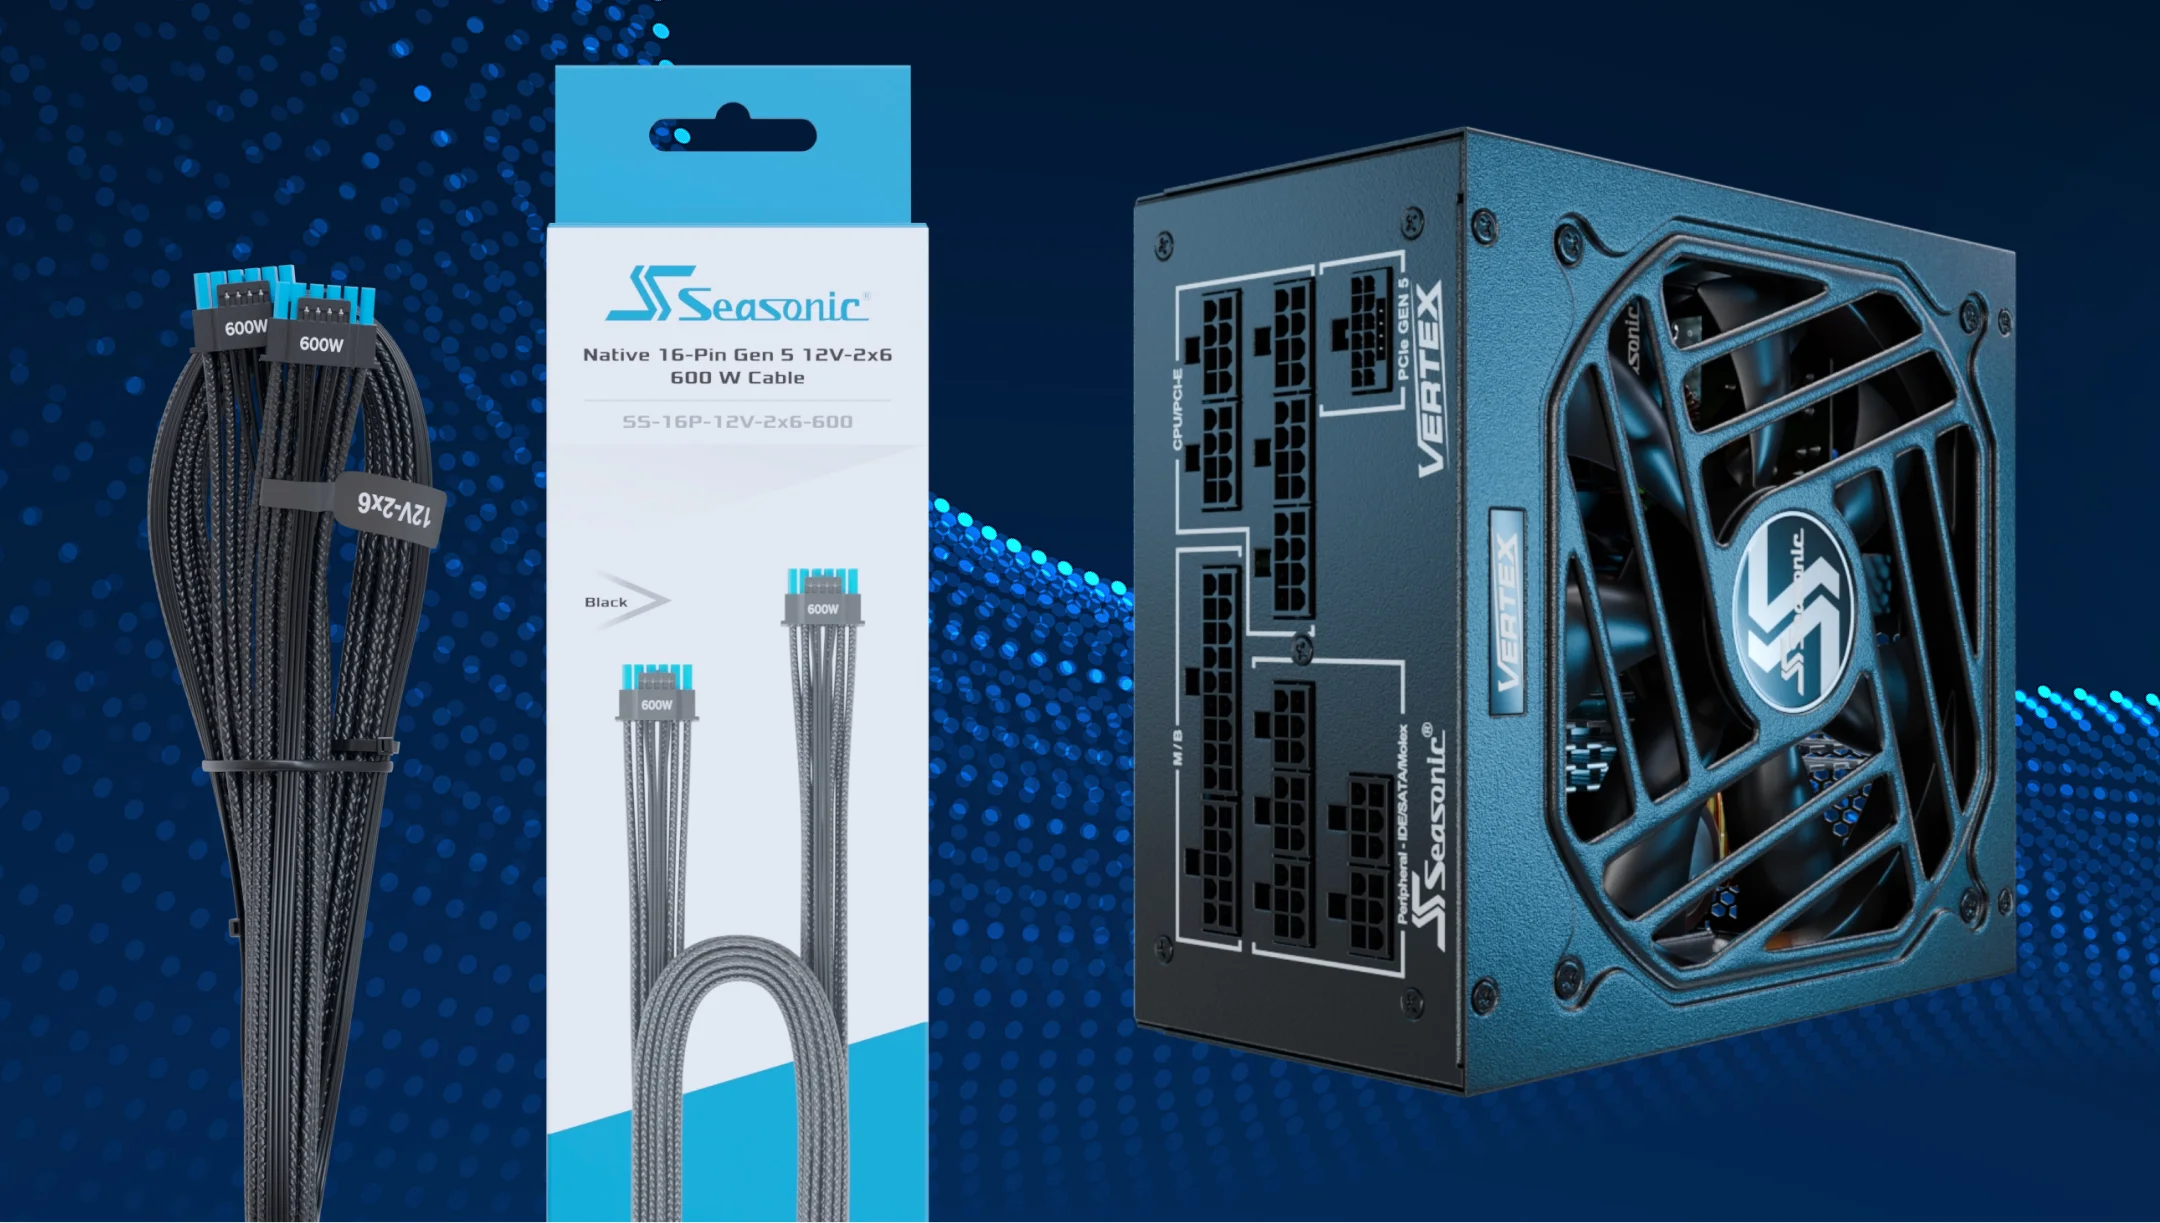
Seasonic’s native 12V-2×6 power supply cable is rated for up to 600 W and uses 16 AWG power wires. Both ends are equipped with 16-pin connectors featuring high-current terminals. The stated length is 700 mm. The length and the number of included cables can differ between PSU models, so check the specifications of your model.
AWG gauge indicates the size of the conductor. This is one of the parameters of a cable assembly, along with the connector design, crimping quality, and allowable load. The label “16 AWG” alone does not guarantee that any accessory is compatible with Seasonic. The correct cable must match the entire wiring diagram of a specific power supply, including its modular connectors.
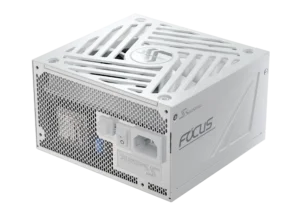
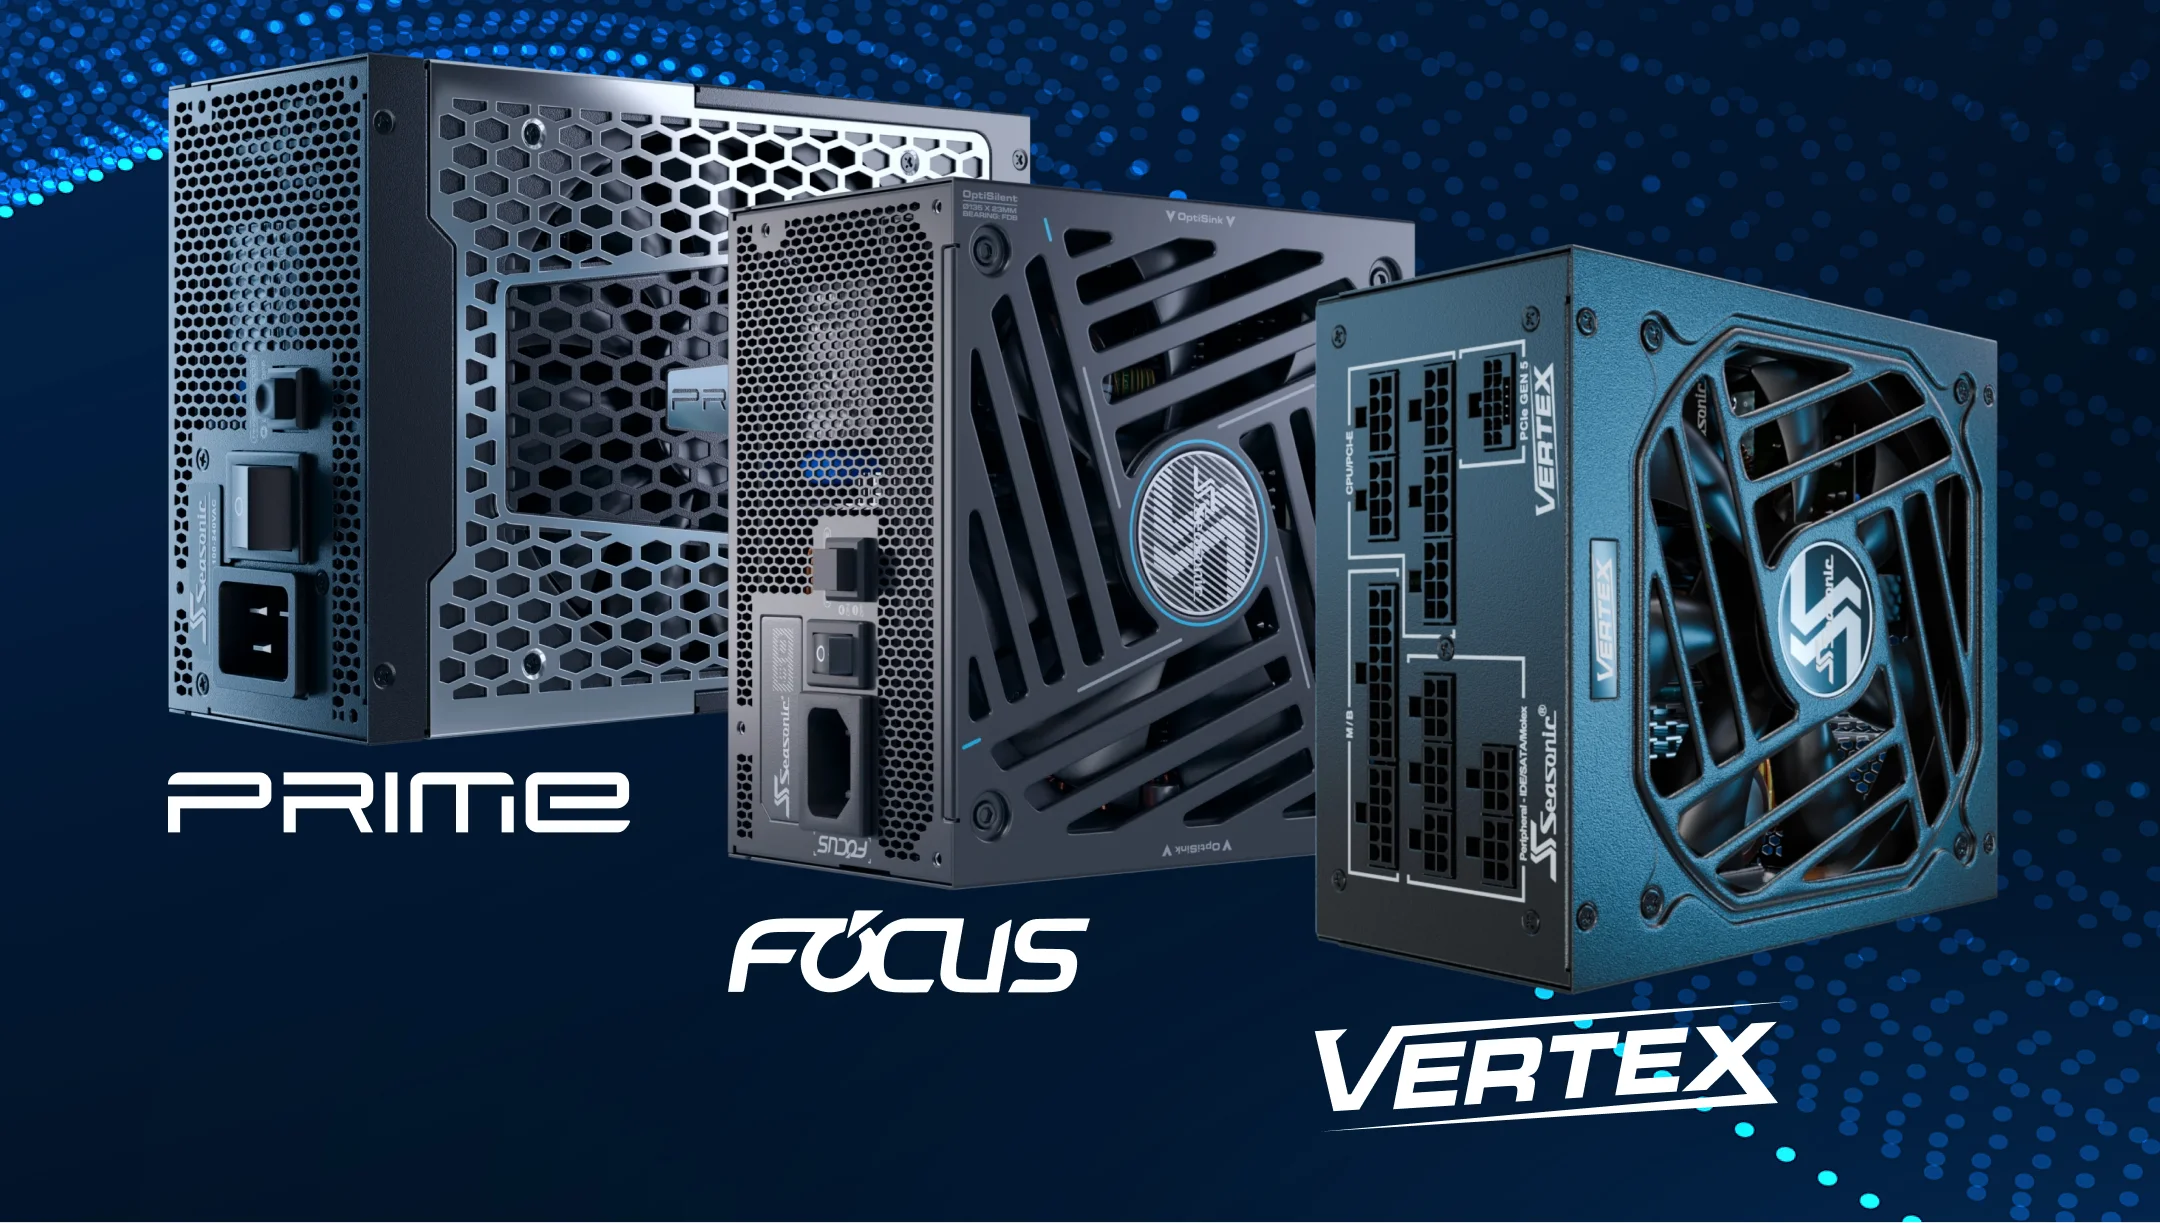
An example of native 12V-2×6 cable use is the FOCUS GX ATX 3.1 PSU. For the 1000, 850, and 750 W models, Seasonic specifies a single 12V-2×6 cable, 700 mm long, with 12+4-pin connectors on both ends. Consequently, the user receives a direct GPU connection as the manufacturer specified. There is no need to assemble it yourself using standard PCIe cables and the graphics card’s included adapter.
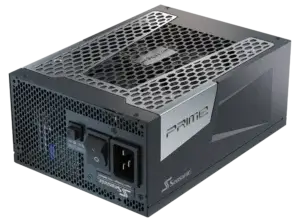
In more powerful configurations, the number of available connections is also important. For example, the included cable chart lists two 12V-2×6 connectors for the Seasonic PRIME TX-1600 ATX 3.1 PSU, while the 1300 W version lists only one. This shows why the exact model matters more than the series name when planning a build.
For cases with limited space, Seasonic also offers the native 12V-2×6 cable with a factory-installed 90° connector. It has a rated power of 600 W, 16 AWG wires, and a length of 700 mm. Its practical advantage lies in the fixed direction of the cable output. However, compatibility depends on the orientation of the connector and the graphics card’s cooling design.
Why do Seasonic power supplies use 12V-2×6 cables for GPUs?
Support for 12V-2×6 allows Seasonic to provide a direct connection between compatible modern GPUs and the PSU. This approach simplifies the setup by replacing several PCIe cables and an adapter with one dedicated GPU cable. The practical benefit of this solution is simpler cable routing and fewer intermediate connectors that need to be positioned and checked.
The connector revision also matters. 12V-2×6 replaced 12VHPWR in the PCIe CEM 5.1 specification, and its header uses longer power pins and shorter signal pins, so the power contacts connect before the signal contacts. This is a design measure to improve contact reliability. It must be considered alongside proper plug insertion. The updated standard still requires proper installation and careful cable routing.
The cable is also part of the power supply unit’s broader design. Seasonic’s ATX 3.x power supplies are designed to meet the power-excursion requirements introduced with ATX 3.0 and retained in ATX 3.1.
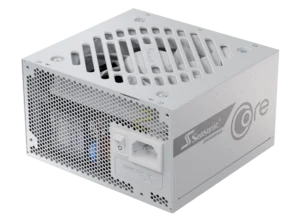
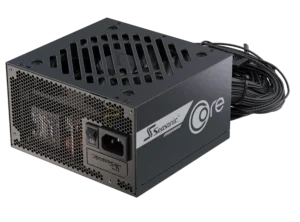
At the same time, users can still use graphics cards with standard 8-pin connectors alongside support for the newer interface. For example, the CORE GX ATX 3.1 PSU includes a native cable for a 16-pin connection and a separate cable running from the PSU’s 12V-2×6 output to the two PCIe 8-pin connectors on the graphics card.
How to choose a compatible 12V-2×6 cable for your Seasonic PSU?
First, define the exact PSU model name and its generation. The series name alone isn’t enough, since Seasonic models can differ in power capacity and technical details. Write down the information from the PSU label, check the power rating, ATX version, and the connectors on the modular panel. Then open the official Seasonic Cable Compatibility chart.
In the chart, select the desired cable type. For the native 12V-2×6 cable, you’ll need a compatible 16-pin connector on the PSU side. For a 2×8-pin to 12V-2×6 cable, you’ll need two corresponding available modular ports. Be sure to check the row for the specific accessory you need: compatibility with a standard PCIe cable does not automatically mean compatibility with any 16-pin cable.
Next, check the graphics card’s exact model, the type of its power connector, and the cable requirements. If you’re replacing a functional 12VHPWR cable with one that has new labeling, first determine whether there’s a practical need for such a replacement. If your existing cables meet all requirements, you can keep using them instead of buying new ones.
Next, assess the length and shape. Consider the path through the cable openings, the position of the PSU, the orientation of the GPU connector, and the distance to the chassis panel. For an angled cable, check whether the wires exit in the correct direction and whether the cooling shroud gets in the way.
Your first point of reference should be the cable set that came with your PSU. If you need a different accessory, but the model is not listed in the table, or its revision is difficult to determine, contact support with a photo of the label and the GPU model name. This gives you guidance for your exact hardware instead of guessing based on a similar-looking connector. If needed, ask support for the accessory’s exact part number.
Conclusion
Choosing between a native 12V-2×6 cable and an adapter should come down to your full PC configuration. Both options can work well, but the right choice depends on the PSU, GPU, available case space, and how you plan to route the cables. A properly planned setup also makes future maintenance and upgrades easier.
Cable choice deserves the same attention as the PSU or graphics card itself. Check Seasonic’s documentation together with the GPU manufacturer’s requirements before installation. This helps you avoid unnecessary purchases, confirm compatibility, and build a power setup where every component is matched correctly.